USB JTAG/serial debug unit
This is the ESP32-S3 for the display, touch, rotary ring, Wi-Fi and RoonPilot firmware.
A fast, tactile Roon remote for the Waveshare ESP32-S3 Knob Touch LCD 1.8. No bridge, companion app or additional service required.
Start directly in the Web Installer. In the device chooser, the name before the parentheses is what matters; Device Manager and System Information are not required.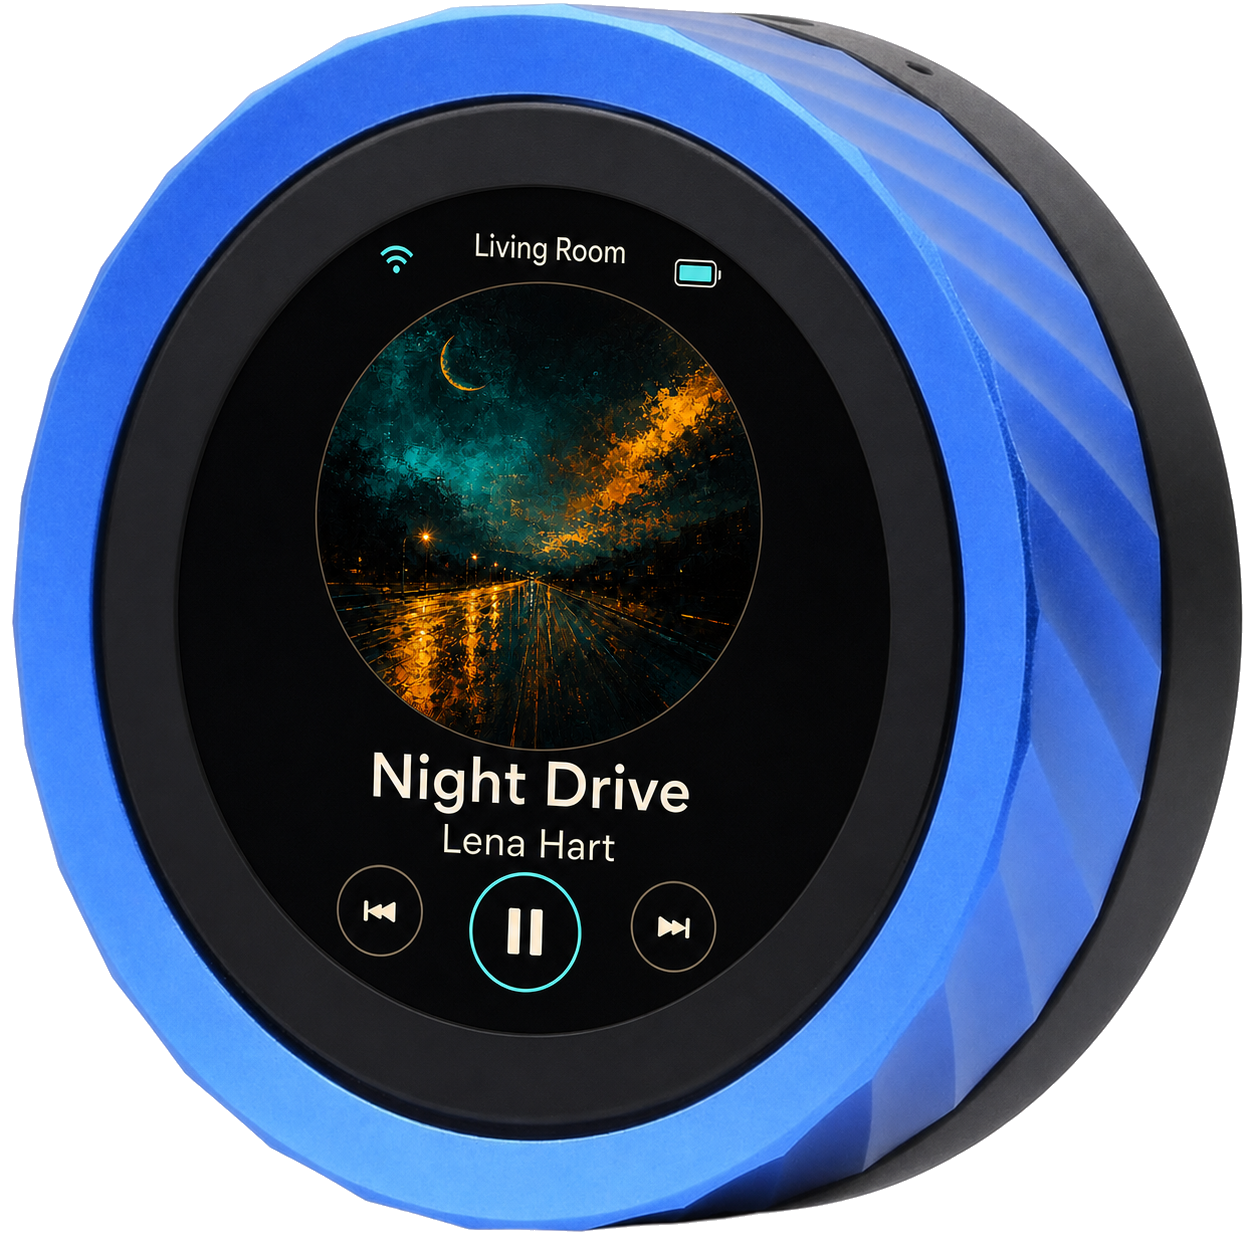
Personal hobby project · no business model
RoonPilot was created for the enjoyment of music, technology and building something useful—not as a commercial venture. There are no advertisements, subscriptions or hidden costs. RoonPilot does not transmit personal, usage or telemetry data to the developer or any third party.
Support and discussion: use the Roon Community Forum thread or GitHub Issues.
Anyone who would voluntarily like to say thank you for the time and effort invested:
Send Me a CoffeeIn the Web Installer's device chooser, simply read the name before the parentheses. The additional COM… or cu.usbmodem… value may differ.
This is the ESP32-S3 for the display, touch, rotary ring, Wi-Fi and RoonPilot firmware.
This is the separate classic companion processor, not the target of the main RoonPilot installer.
01
The browser handles device selection; no operating-system tool is needed beforehand.
A charge-only cable can power the display but cannot transfer firmware.
Use Chrome or Edge, enable the confirmations and start installation. The device chooser then opens.
Select USB JTAG/serial debug unit for RoonPilot. COM… or cu.usbmodem… appears only as additional information in parentheses.
For USB serial, leave the chooser open, unplug USB, turn the USB-C plug by 180 degrees and reconnect it. The browser refreshes the choice immediately.
02
The Web Installer shows the correct USB entry directly in its chooser.
When asked, confirm Erase device. No separate erase is needed beforehand.
Keep USB connected until erase, write and verification are complete.
Later updates run directly from RoonPilot under System → Firmware update and normally preserve settings.
Device choice: the name before the parentheses is what matters. The chooser can remain open while USB is unplugged, turned and reconnected.
03
Normal updates no longer require a USB cable.
04
A clean factory image contains no private Wi-Fi or Roon data.
Connect to RoonPilot-Setup-XXXXXX. If the captive page does not open, visit 192.168.4.1.
Select or enter your 2.4 GHz network and save the password locally on the device.
Use the address shown by your router or the device. No Internet account is required.
In Roon, open Settings → Extensions and enable RoonPilot by Senior Coder.
If several Roon Servers are found, choose the intended one. A fixed local IP can be entered when discovery is blocked.
Select the primary zone and hide rooms that should not appear on the device.
05
Fast physical control, a considered round interface and complete local configuration.
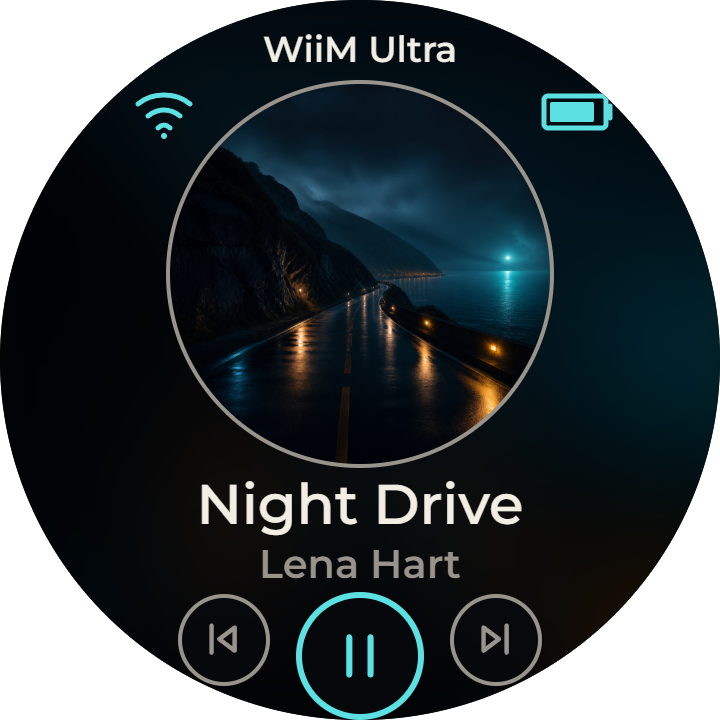
Turn the full outer ring for volume. RoonPilot automatically follows native percent, dB and relative outputs. Tap, swipe or hold the capacitive display for playback and device controls.
Turn · tap · double-tap · swipe · hold
Volume, transport, zone selection, Quick Settings, control lock, immediate display-off and wake-up are available directly on the device.
Read the complete device controls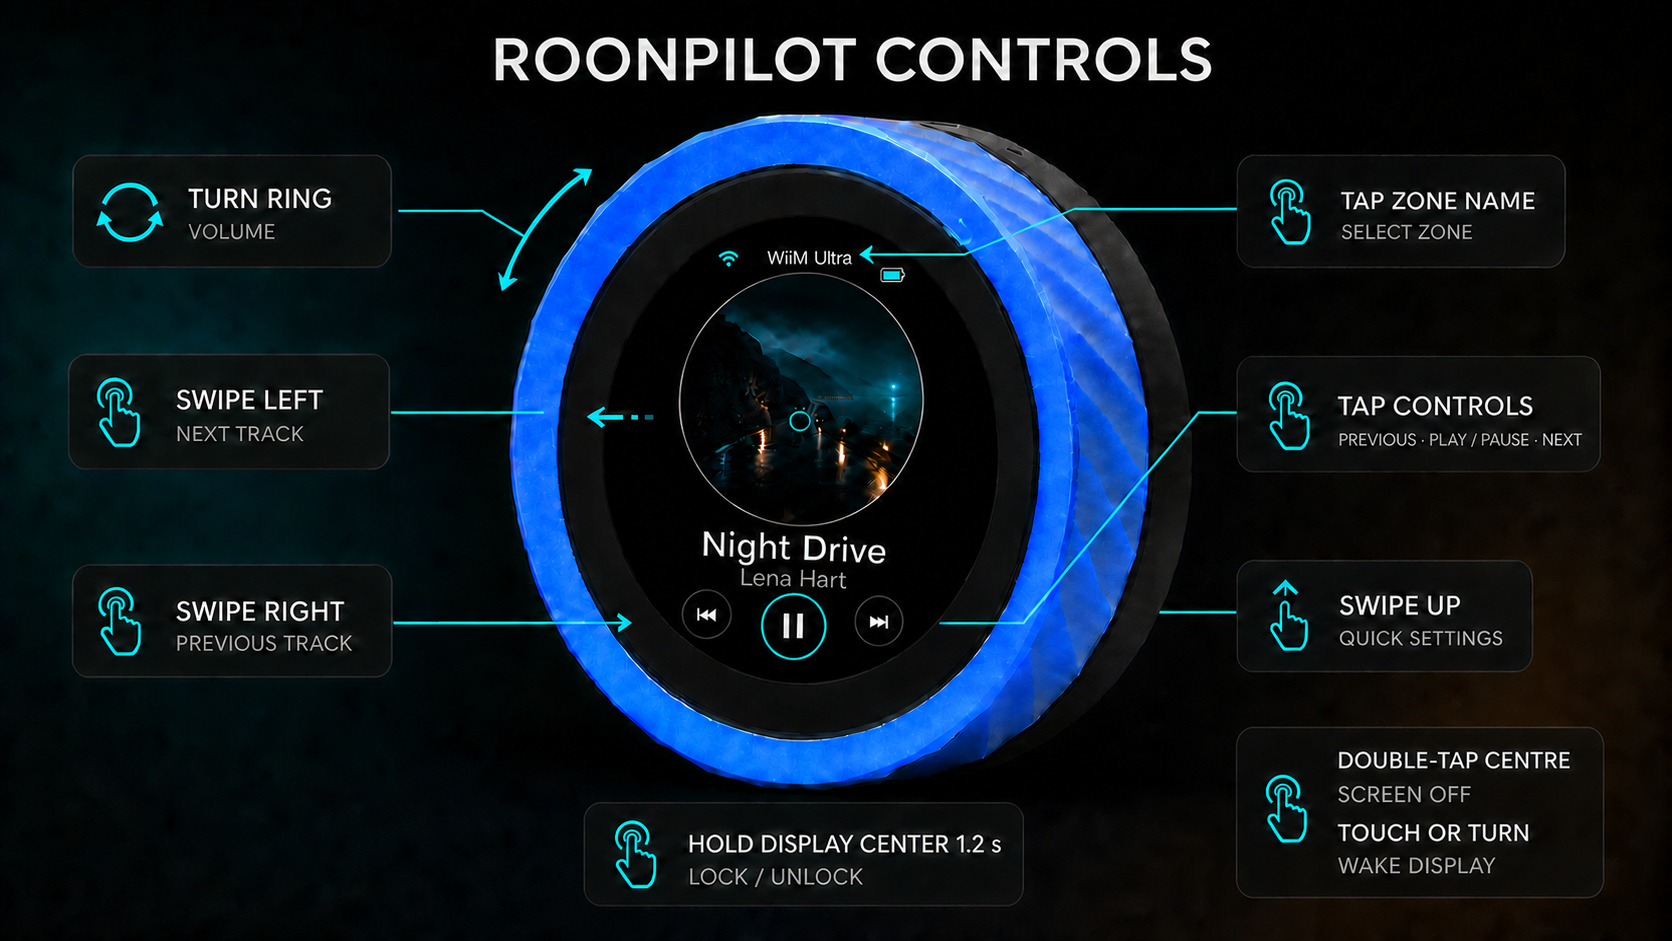
Open image at full size
The responsive local interface manages RoonPilot directly from the same network.
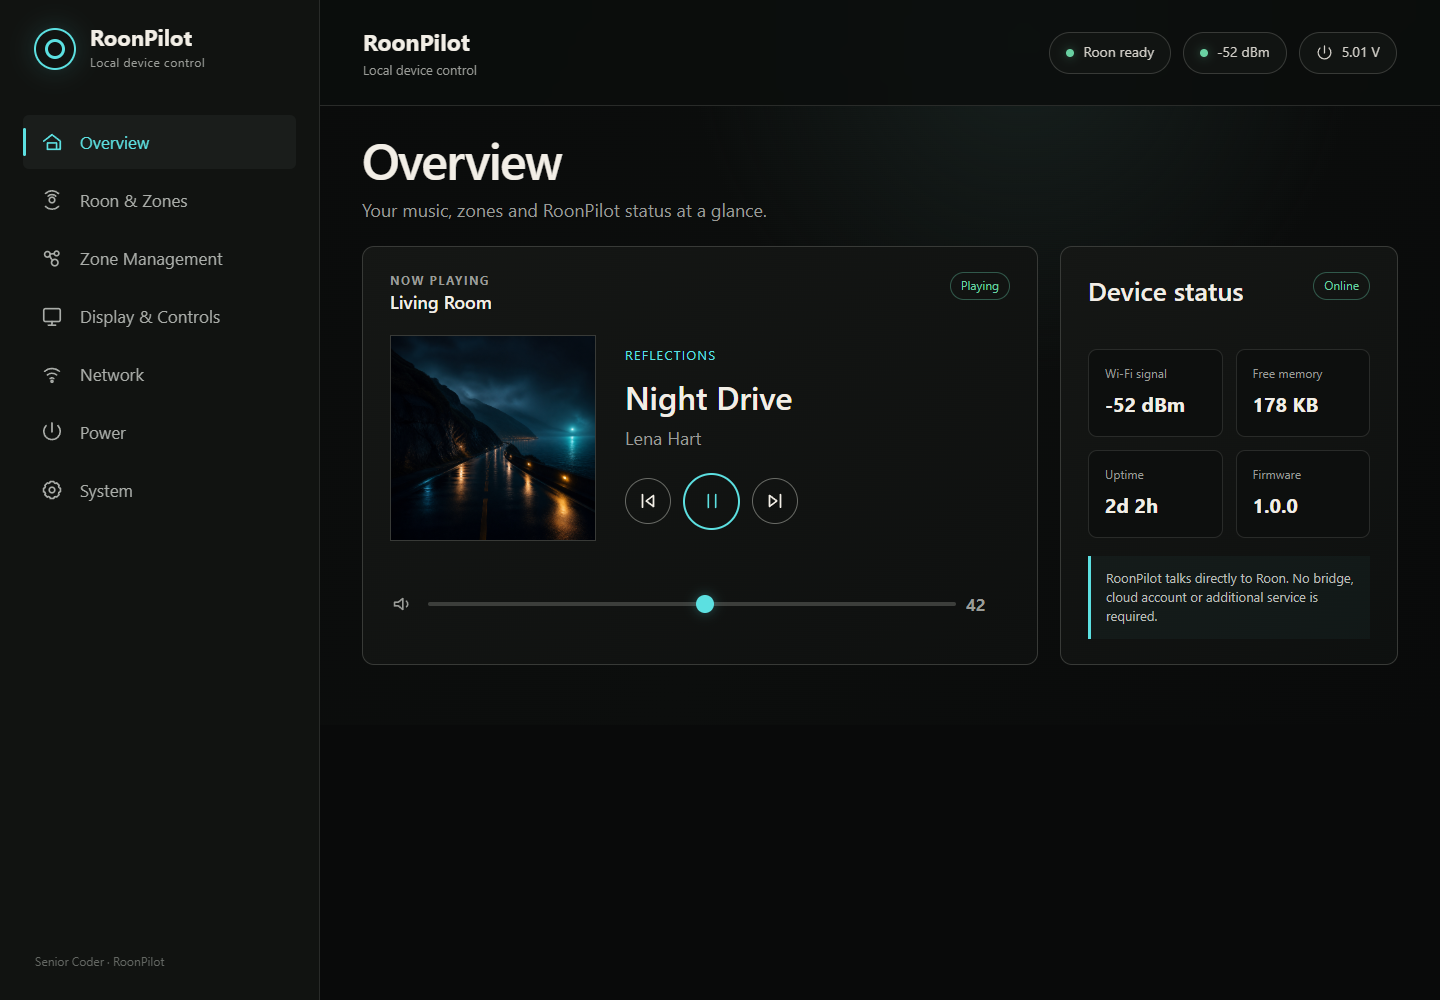
RoonPilot talks directly to Roon on your local network. Configuration, pairing and control remain local.
06
RoonPilot targets the Waveshare ESP32-S3-Knob-Touch-LCD-1.8, not a generic round ESP32 display.
Blue and black enclosure variants are sold with or without an included battery. Check the exact order code and regional battery restrictions before purchasing.
Waveshare product page Official technical wiki07
Start with the guide for your computer. Technical background and optional recovery paths remain separate.
Use BOOT/RESET only when automatic USB connection fails. Never rotate the plug and flash the second processor as a troubleshooting guess.